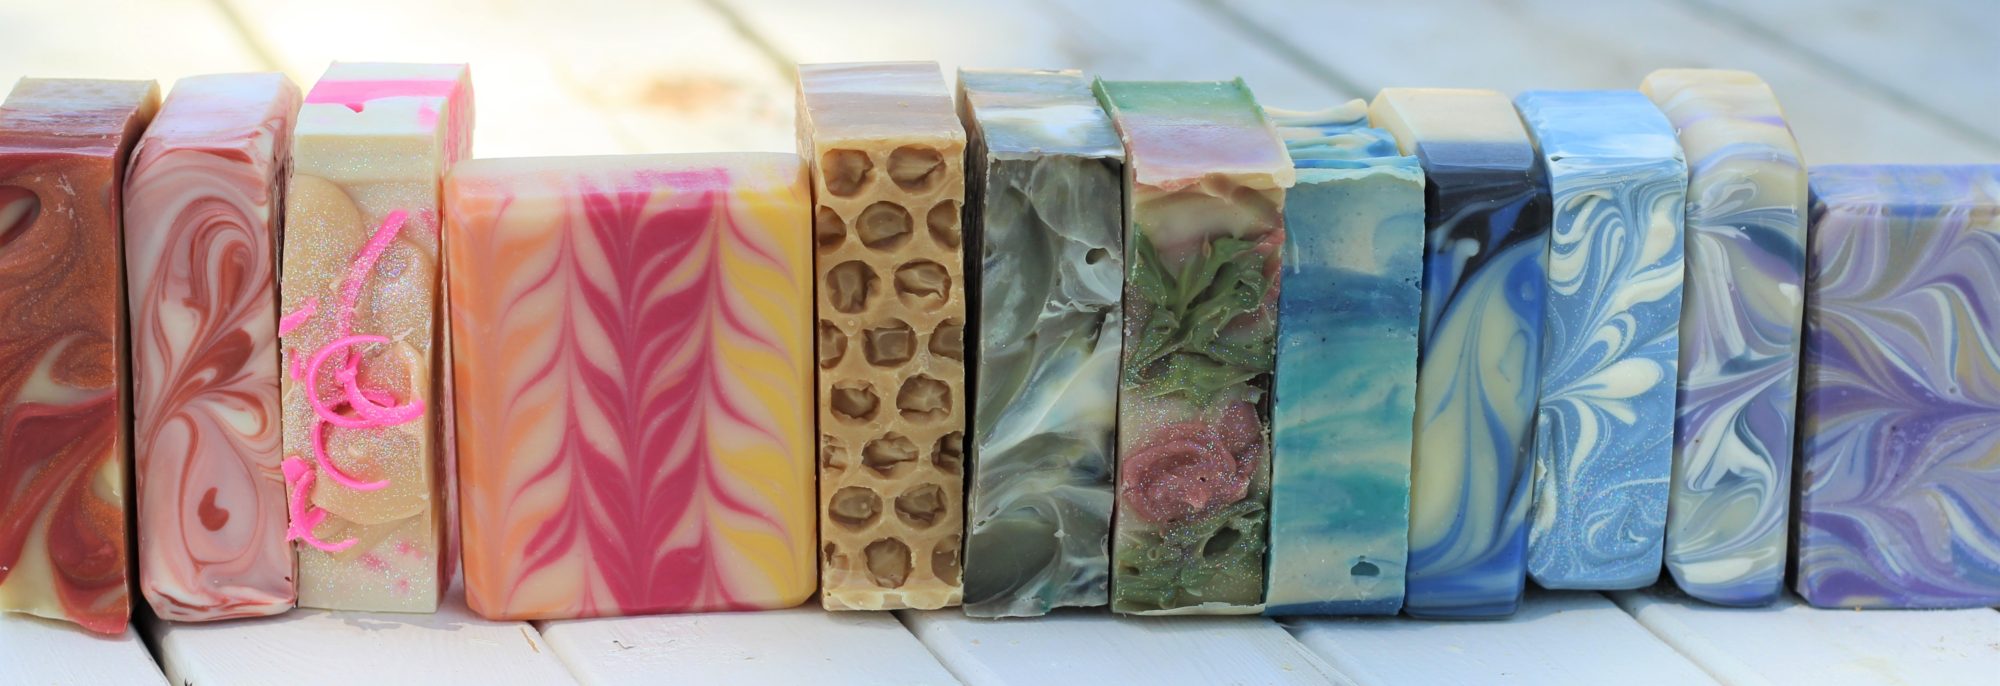
I’ve written several posts about my adventures in the Soap Crafting Club through Bramble Berry. It’s been super fun and I’ve learned so much. (You can check out this beautiful funnel pour soap, this wild avocado soap, a cool tie-dye soap here, a delectable oatmeal cookie layered soap here, and this gorgeous linear swirl soap if you’d like to see them all!)
Way back at the end of September, I received another kit that I have FINALLY gotten around to making!! I watched the live online soap making presentation by Anne-Marie Faiola (the Soap Queen and author of the fabulous Soap Crafting book), read through the recipe several times, and watched as everyone else made their soaps. It just took me a while to actually make it myself!

Psychedelic Green Tea Soap
This soap is appropriately named Psychedelic Green Tea, as it calls for freshly brewed green tea in place of water, has green tea extract as an awesome additive, uses an array of green colorants, and of course uses Green Tea fragrance oil. This is a very interesting and unique soap, and I must say it was a rather difficult one for me to make! (This proved to be a very similar experience to when I made avocado soap.)
I received all of the necessary oils, additives, colorants and fragrance, whipped out my lye, scale, and 9-bar slab mold, then brewed some tea. I let the tea cool in my cold garage for most of the day, then I made the lye solution as directed, adding the lye very slowly to the green tea. It turned a deep brown color as expected. Here’s a look at the ingredients and lye solution just before I got started making the soap.

Melted oils (that I received pre-measured 😀 ), deep brown green tea lye solution, fragrance, green tea extract, colorants and oil to prep them in, and my book laid out for reference
As the lye and oils cooled, I prepped the colorants, got my soaping station all ready, and reread the recipe to be sure I remembered the steps. I added 96 degree lye solution to 108 degree oils, and to my great shock, it was at a medium trace within about 30 seconds of pulsing my stick blender. I did NOT expect that! Especially since I still had fragrance, colors, and additive to add! I was hoping for a nice fluid soap (as pictured in the book) so I could make the lovely intricate swirl design called for. Instead, I ended up with pudding.

After splitting off the soap and adding in everything, you can clearly see how thick the soap is.
Despite my pudding soap, I kept whisking and stirring to try to keep it workable. I used spoons and spatulas to plop soap into the mold in s-shapes and stripes, and I pounded to my heart’s content, hoping for no major air pockets.

Wow. That’s some thick soap. It’s so much easier to work with when it’s fluid!
I still swirled using the pattern shown in the book. Rather than having a wispy (and flat) soap, I ended up with this lovely textured top! (I’m going for that lemonade from lemons attitude.)

I was either brave or stupid, but I swirled it as shown in the book!

I had to work hard to push the dividers into the soap, and I see a few air pockets on top. Fingers crossed that it’s only on top and not through the entire soap!
Though my soap looks very different than the examples, I think it’s still pretty psychedelic! I had to let it sit in the mold for a full week as it was super wet. Even after a week, I had to carefully release the silicone liner and still peeled off a bit of soap. I let it sit in the open air for 2 more days before I removed the dividers.

Psychedelic Green Tea Soap. It’s interesting to see the drag marks down every side of this one, and both the top and bottom of the bar have cool designs.
This is certainly an interesting soap (both to make and to look at). It’s a fresh, invigorating scent, and it should be extra nourishing. I’m going to let this one cure for at least 6 more weeks, maybe longer. And I may even cut some of these giant cakes in half, some horizontal cuts and some vertical cuts, to peak at the swirl pattern inside them!

Did you notice? No major air pockets in the soap!!! I’m thrilled! 😀
I’ve really had a blast making all the soaps in the 2 sessions of Soap Crafting Club that I joined. Every experience has helped me to learn, for which I am very grateful. I hopped onto the Bramble Berry website this morning and see that the current Winter Crafting Club session is full, but I’m seriously contemplating joining in the Spring Club that starts in May, the one that covers the 3 most difficult techniques in the book. Makes me a bit nervous, but I think I can handle it now that I’ve had so much practice with this club (and with the Soap Challenge Club). It’s so much fun to interact with other soapers and to have the personalized touches and online support that Bramble Berry offers.
Thanks for stopping by! And just FYI, I’ve scheduled a few posts for these next few weeks since (I’m hoping) I’ll be very busy. I’ll let you know when messy baby #6 arrives!