Rebatching soap is something I’ve read a lot about, but I’d never tried it until now. It was never necessary until now!
Remember that triple batch of milk soap that I made a few weeks ago? When I cut the soap, it seemed to be perfectly fine. No big air pockets, no zap, no drying or burning when used on my hands. But after a few weeks of curing, I picked up a bar and found some large crystals that had seeped out of the soap. Since I made the soap, I’ve had this nagging feeling. You know? That gut feeling that something was wrong. I examined every bar and picked out one bar that had a large amount of seeping crystals. I dug into the soap, and sure enough, I found a small pocket of lye. As I had feared from the beginning, there must have been some undissolved lye in the milk when I added it to the oils. Oh, the horror! Soap that can burn your skin! What to do, what to do?
Rebatch! Save the soap!
When I originally made that triple batch of soap, I measured and remeasured, and remeasured again. I am absolutely certain that I used the correct amounts of oils, lye, and milk. The lye simply didn’t get completely dissolved before going into the oils. Since I knew the exact problem, I knew I could save my soap, all TWELVE pounds of it!
I went back to the drawing boards, did some more research, and came across this post about rebatching from the Midlife Farm Wife, an awesome fellow central Illinois soaper. (By the way, Donna is infinitely funnier and cooler than me. You should definitely check out her blog! I’d love to meet her, but we live about 3 hours apart and both have farms to run. Her farm is real with pigs and cows; I’m raising five messy babies on mine.)
Since Donna’s method seemed pretty simple, I decided to try the crock pot to rebatch my soap. Like the good girl that I am, I followed her instructions for my first rebatching experience. I grated up 8 bars of soap, added 4 ounces of milk (about half a cup) and 1 ounce of sweet almond oil to the pot, set it on high, covered, and stirred it all about every 15 minutes.

Check out that sliver of soap. It’s lighter in the middle where it hadn’t fully dried out yet, and it was much softer. Soap is awesome! Grating it all up is not so awesome…
After about half an hour, the pieces were beginning to melt. Then after about an hour and a half, it was all melted and gloppy. It never fully gelled again like in Donna’s picture, but it seemed to be getting dry and was beginning to burn around the bottom edges.

Here’s the gloopy, gloppy soap after about an hour and a half.
I added a tiny bit more milk, making the soap more fluid, and I also added a splash of green apple fragrance. After a good stir, it went into my medium sized mold. The scent is absolutely divine! The original oatmeal, milk & honey scent comes through with the finishing bright notes of apple. I’m calling it Honey Crisp Apple. YUM!
The first batch went extremely well, but it left quite a bit of room in my large crock pot once melted down. For the second batch, I grated up 12 bars and increased the milk and oil accordingly. It took a bit longer to get completely melted, but everything else went just as anticipated. At the end of the cook, I added some more oatmeal, milk & honey fragrance, molded it, and pressed in some bubble wrap to get a honeycomb look.
Since I’d been cooking soap for 4 hours already, I thought I might as well finish it all in one day! For the third and fourth batches, I used both a large and a small crock and cooked it at the same time. Into the small pot went 5 bars grated soap, and another 12 bars went into the large pot again. My arms and shoulders were actually sore the next day from grating all that soap! I added some lavender essential oil to the small pot to get Lavender Milk & Honey soap, very comforting and relaxing. To the last large batch, I added some vanilla fragrance, yielding Vanilla Milk & Honey.
These pictures show the differences in size and shape of some of my handmade wooden molds.

Small, medium, and large wooden molds filled with rebatched soap. I’m not crazy about the tops, but that’s what happens with most hot process soaps as they’re smushed into the molds.

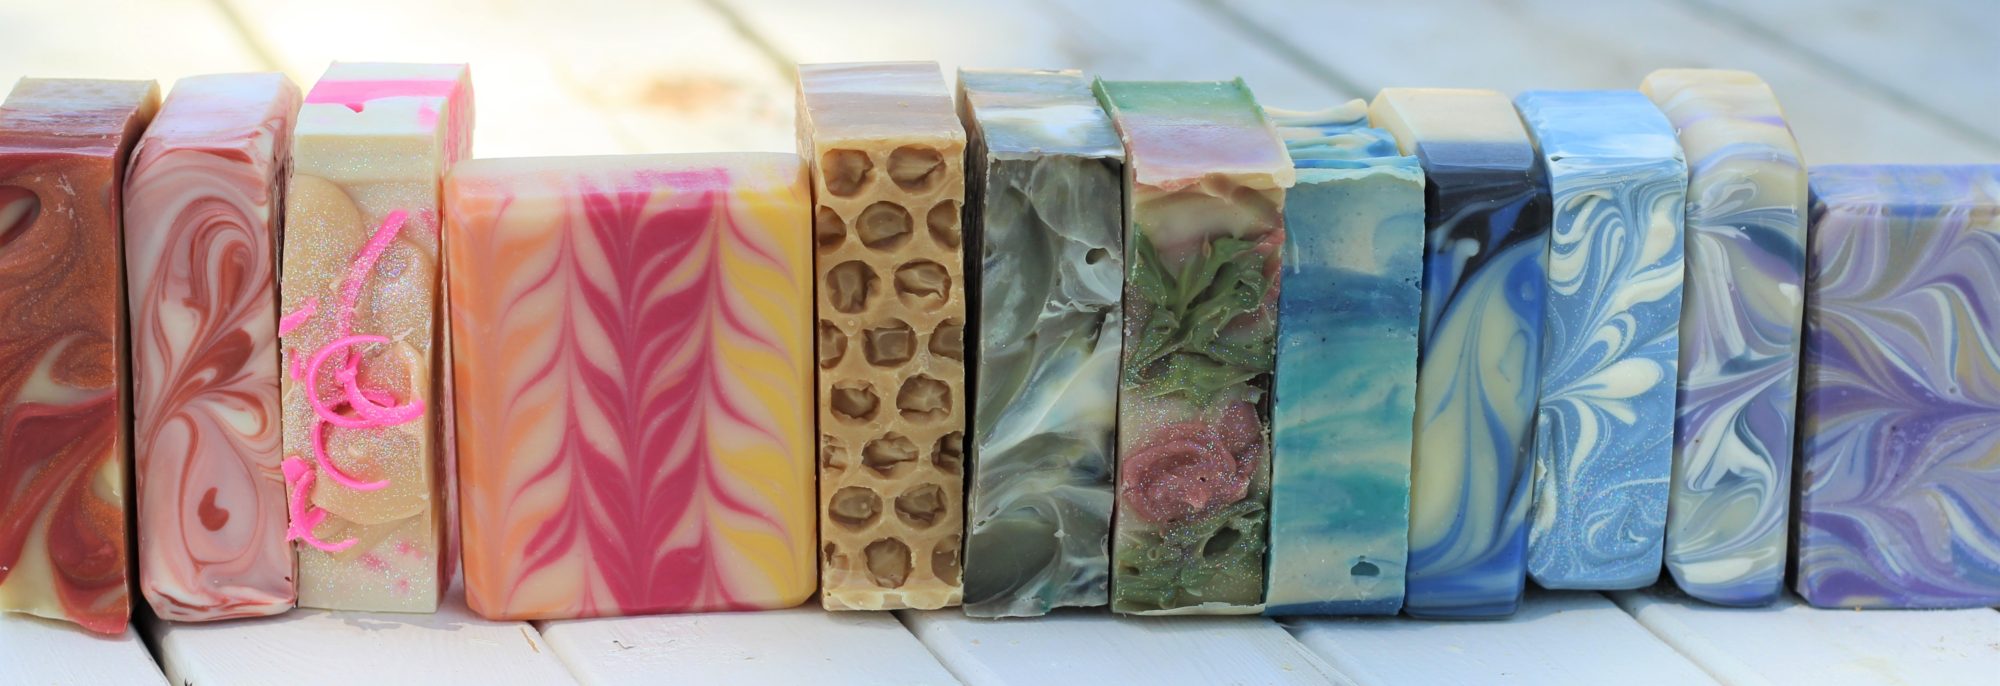
Bars of rebatched soap. From left to right: Honey Crisp Apple, Lavender Milk & Honey, Oatmeal Milk & Honey, and Vanilla Milk & Honey.

See all the pretty speckles in the different soaps? Lots of oatmeal and honey goodness packed in every bar!
I’ve tried out several different widths of molds in an attempt to find my favorite size bar of soap. I think I’ve settled on 3 inches long by 2.5 inches wide by 1-1.25 inch thick. What’s your favorite size?
I’m quite happy with my final products. Even though I didn’t add any interesting bits of colored soap like Donna did, I’m pleased with the simple marbled look of my soaps. The darker bits of soap speckled throughout must be from the honey as it heated and caramelized during rebatching. Dear ol’ hubby likes the looks of these bars better than cold process. After a week of curing, they’re back to being very hard, creating a bubbly, yet very creamy lather.

Not only are they different sizes, but different colors as well. You can already see how much adding vanilla browns the soap. The soap on the far right (Vanilla Milk & Honey) will eventually turn a rich, deep shade of brown.
I hope that I don’t need to rebatch again anytime soon, but I will definitely do this again. This hand milled soap has a look all its own, and the final bars really are very lovely to use. Now that I know that I can do it, I can have some fun trying new scents, colors, and additives that don’t hold up well during cold process soaping. Once again, I’ve found lots more to try! It’s never-ending.
Pingback: Confetti Soaps | Five Messy Babies